Enable the hardware serial port on Raspberry Pi
This quick quide will help you enable the hardware serial port on a Raspberry Pi device. You'll use the raspi-config cli tool to achieve this. Once done, the serial port will be available on the device at /dev/ttyS0.
-
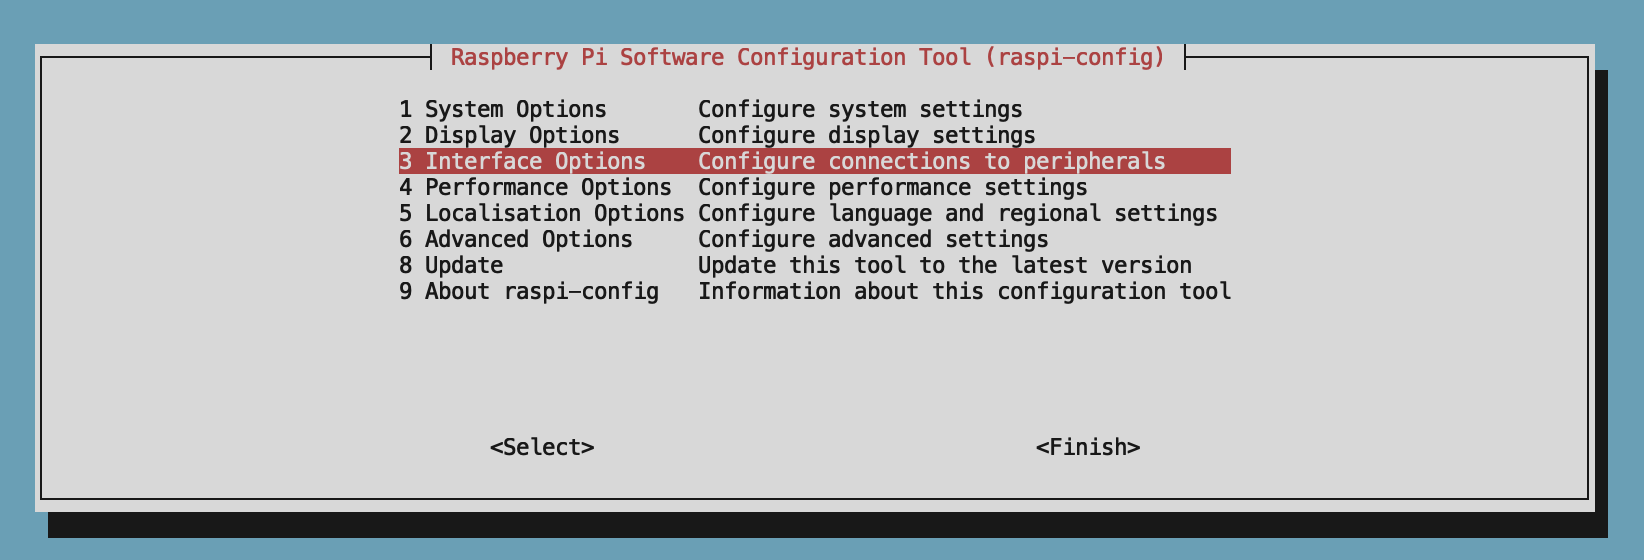
Use the terminal on your Raspberry Pi to run the following command:
sudo raspi-config -
Select the Interface Options menu item.

-
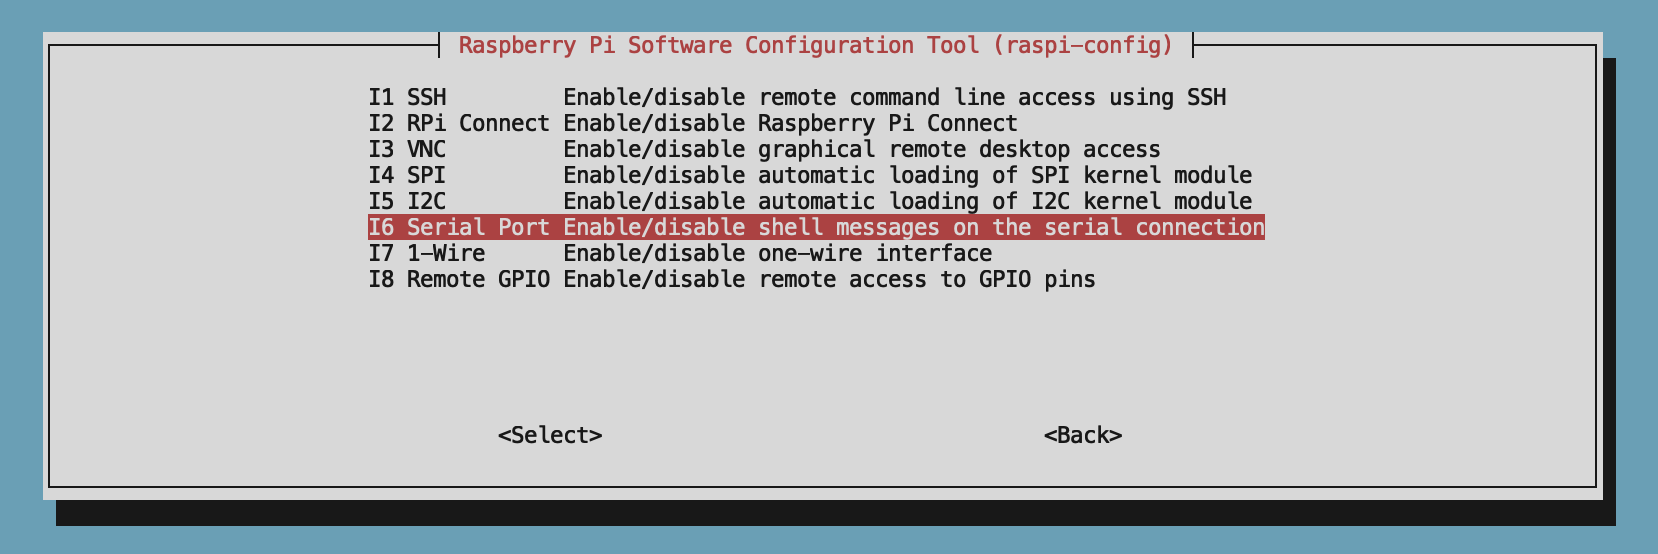
Select the Serial Port option.

-
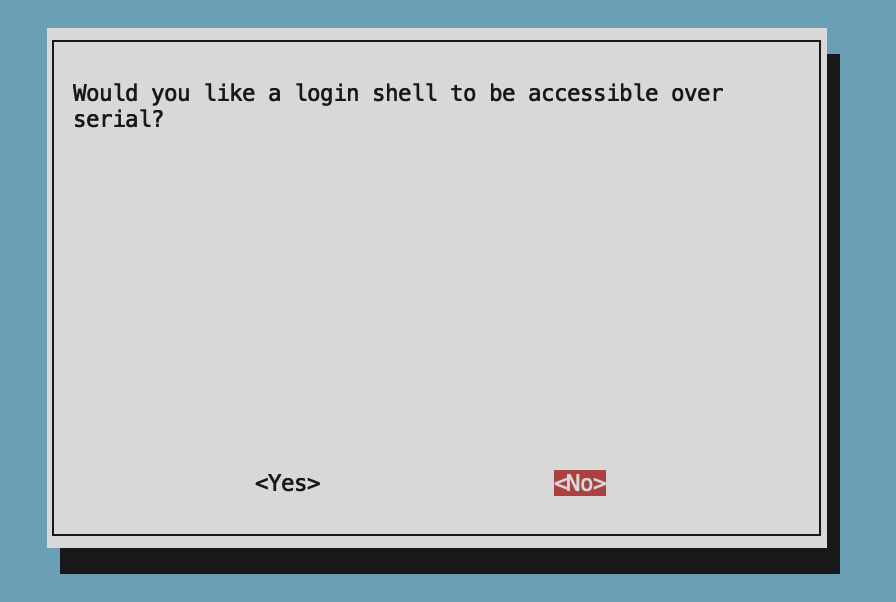
In the first dialog, select the No option, as the login shell is not needed.

-
In the second dialog, select the Yes option to enable the hardware serial port.

-
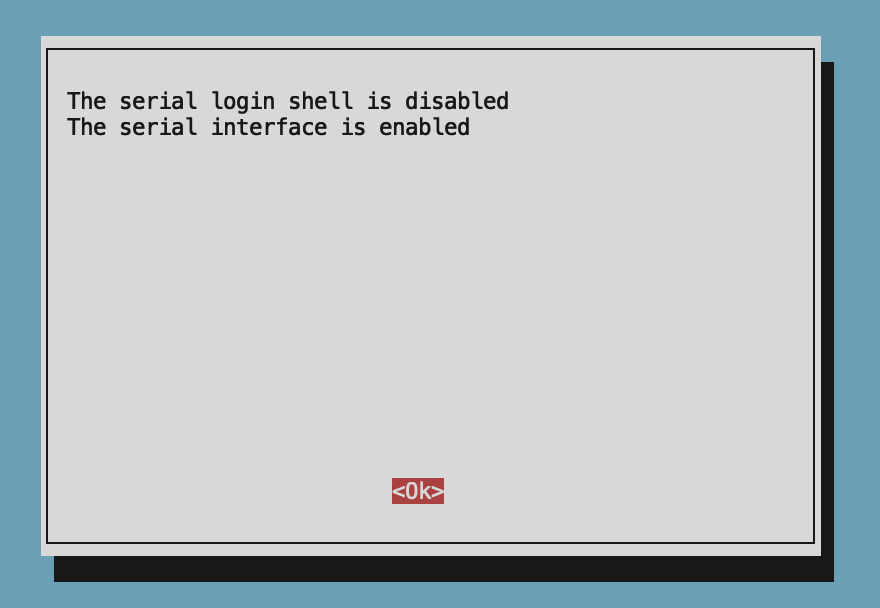
The confirmation screen should show the login shell disabled and the serial interface enabled.

-
Back in the raspi-config menu, select the Finish option to exit the utility.

-
Reboot the device using:
sudo reboot
Once the device has rebooted, the serial port should be available on the device at /dev/ttyS0. This path should be used when configuring the Passed devices option in the logiccloud setup script.